To assign an account number and name, follow these steps:
- On the Configuration menu, select Accounting Interface, and then click Manage Acct Interface.
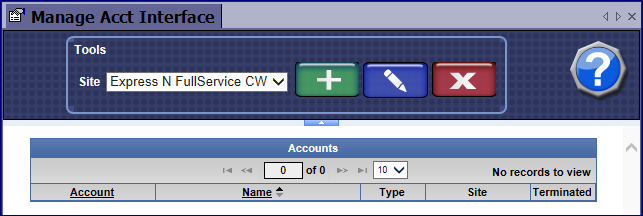
The Manage Acct Interface tab appears.
- Click the Add button.

The Account dialog box appears.
- In the Account box, type an account number (alpha and/or numeric).
- In the Account Name box, type an account name.
- In the Payout box, click to select a check mark if this account will be available for Payouts –or– click again to remove check mark.
NOTE: The payout check box is a setting to prevent all accounts from being available from the Touch POS when selecting a payout. Predetermining which accounts will appear on the Payout list will also prevent errors of coding, for example, Office Supplies accidentally assigned to a Long Term Liability account.
- In the Over Under, Bank Offset or Deposit check boxes, click to select.
- Click OK.
- Click the Save button.

The account types are assigned and display in the Accounts list.