To edit the Time Clock Privilege for a Security Role, follow these steps:
- At WashConnect logon, select Corporate.
- On the Users menu, select Security Roles.
- From the Security Roles list, click to select a Security Role.
This Security Role will be able to edit the Time Clock.
- Click the Edit button.

NOTE: You cannot edit the name for the security role.
- Scroll down to the Time Clock, and click to select if necessary.
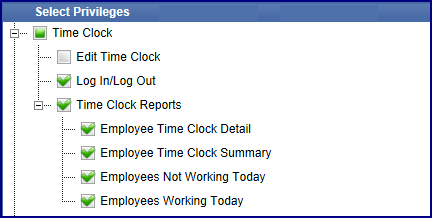
- Click to select Edit Time Clock.
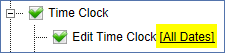
- Click the All Dates link.
The Set Privilege dialog box appears.
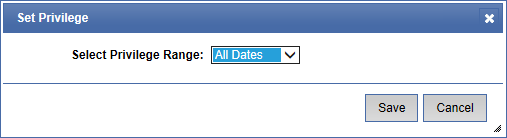
- In the Select Privilege Range box, select an option from the list:
- All Dates
- Today Only
- Date Range
- In Define Date Range, select the amount of Days, Weeks, Months, or Years.
- Click the Save button.

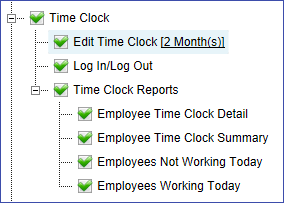
The User is only able to Edit Time Clock entries as far back as the option that was set up in step #9. The following image is an example of 2 Months where the User can go back and change Time Clock entries.
- Click the Save button for the actual Security Role.