To add a Schedule to a profile, follow these steps:
- On the Configuration menu, click Goods and Services, and then click the Profiles button.
- Select a Profile in the list. (Active profiles are highlighted in green.)
This is the Profile to which you will assign the schedule.
- In the Schedule area, click the Add button.

The Schedule dialog box appears.
- In the Day of Week box, select All Days or the individual day(s).
- In the Start Date box, select a start date.
- In the End Date box, select an end date if necessary.
- In the Start Time and End Time boxes, select a specific time, if necessary.
- In the Vehicle Height box, select Normal or High Vehicle.
- In the Vehicle Height box, select Normal or High Vehicle.
- In the Applies To box, select a category this Profile applies to:
- Retail (Main Menu)
- Club
- Paid Ticket
- Open Ticket
- Coupon
- Club Sales (Club Menu)
- Gift Sales
- Flex (Additional Main Menu)
- Fleet
- Book Sales (Wash Book)
- Customer Group
- In the Rule box, select a rule from the list.
NOTE: Rules apply to clubs and fleets accounts. Setup rules prior to adding a profile and schedule.
- Click the Save button.

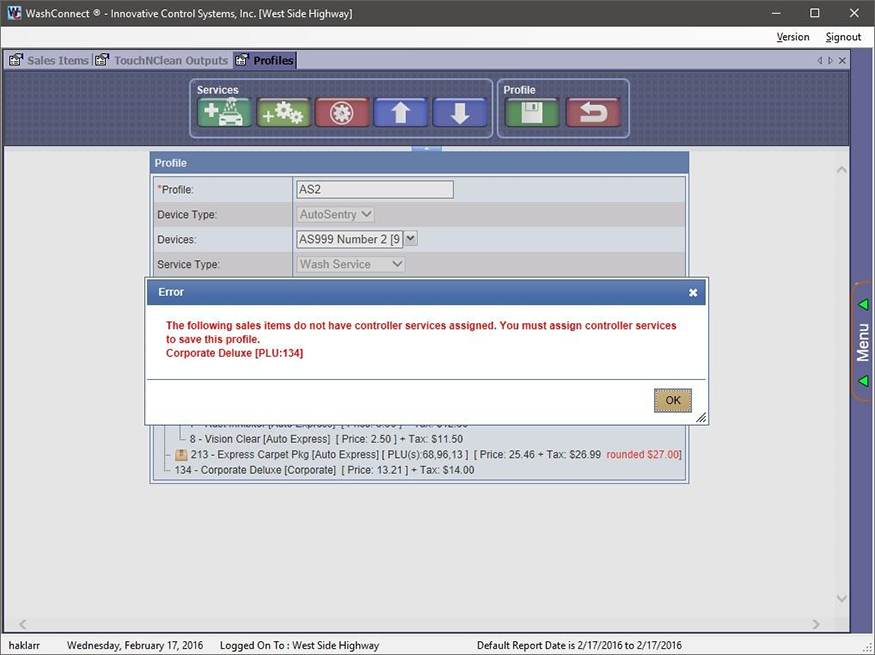
The schedule is assigned to the profile. Controller Services need to be set up for the individual sales items in the saved Profile.
If controller services are not set up for the individual sales items saved in the Profile, the following message will appear:
- Click the Enable button, if necessary.

-
If the Status column displays Enabled, and the profile has a valid schedule, then the profile will be completely enabled.
NOTE: Click the Disable button to disable. 