The Retail Profile is the profile for your main menu exterior wash offerings on your Auto Sentry and POS.
NOTE: An additional Flex menu, Flex Profile, can be engaged if you also have full-service wash offerings with extra services.
To set up the Retail Profile for all exterior Wash Offerings and Extra Services, follow these steps:
- On the Configuration menu, select Goods and Services, and then select Sales Items.
- Create up to six Base Wash Sales Items PLUs.
- Create up to six Extra Service Items PLUs per Base Wash.
- On the Configuration menu, select Goods and Services, and then Profiles.
- Click the Add button.

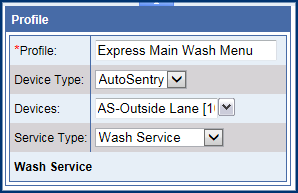
- In the Profile box, type a name for the Profile.
- In the Device Type box, click to select the one or more devices.
- In the Service Type box, click to select Wash Service.
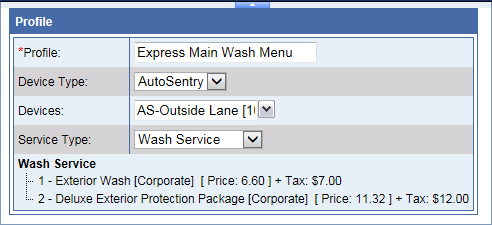
- In Services tools, click to select the Add Base Service button.

- Click to select one or more of the Base Wash Sales Items from step #2.
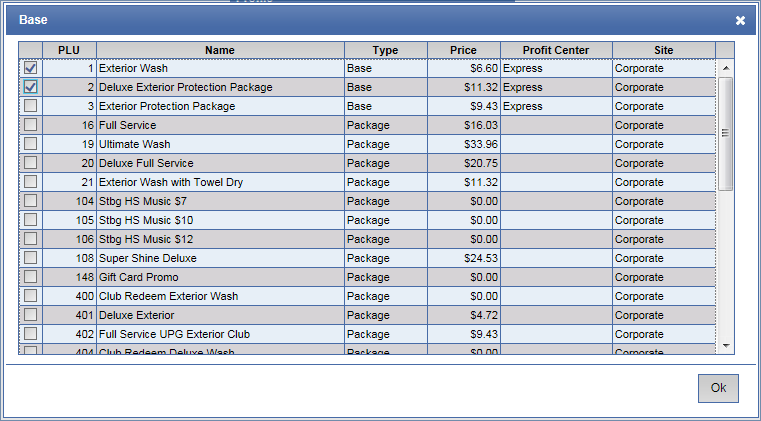
- Click the OK button.

To add Extra Services offerings to a Base Wash, follow these steps #12-18 for each Base Wash Service:
- Click to select the Wash Service.
- Click the Add Extra Service button.

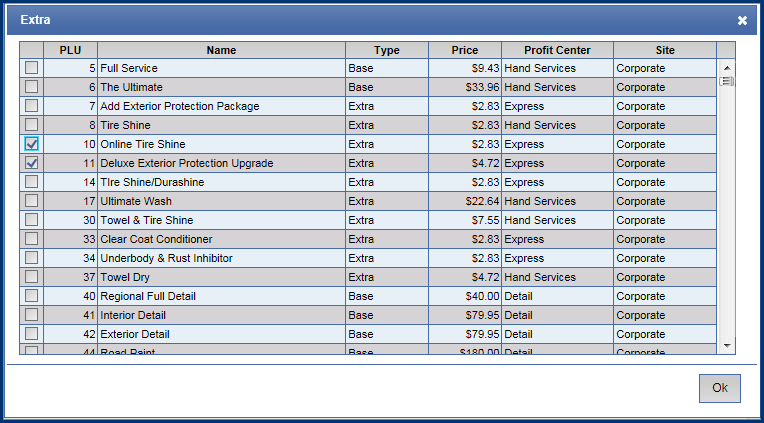
- In the Extra dialog box, click to select one or more Extra Services to offer the customer for the base wash selected.
- Click the OK button.
- Repeat steps 12-15 until for each Base Wash Service as necessary.
- Click the Save button.

- Click the OK button.
The message "Profile saved successfully" appears.
Next, setup a Schedule for the Retail Profile:
- Click to select a Profile.
- In the Schedule toolbox, click the Add button.

- In the Day box, select the days of the week to validate the Retail Profile.
- In the Start Date box, select the date you want to begin using the Retail Profile.
- In the End Date box, leave blank if you always want to use the Retail Profile.
- In the Start Time box, leave 12:00am if you want this to profile to always be available.
- In the Vehicle box, select Normal.
- In the Applies To box, select Retail from the list.
To add multiple schedules, click the Add button and set up another schedule.
NOTE: Rule for overlapping time period Schedules: the most recent start date takes priority.
- Click the OK button.
- If you receive the "Schedule saved successfully" message, click the OK button.
NOTE: If the Profile is enabled it is live for customers to see immediately.
- If the profile is disable, click to select the Profile.
- Click the Enable button.

NOTE: Contact your ICS support technician and discuss placing an order with ICS for custom buttons. ICS has a dedicated in-house graphic design team to fulfill your custom needs. Custom graphics are optional and additional fees apply.