To search for a specific transaction or view a list of transactions for a designated date range, follow these steps:
- Open WashConnect, in Region(s) select Corporate, region, or the local site, and then click the Log In button.
NOTE: When logged in at the Corporate location, the entire Corporate structure will be available. When logged in at a site level, only that site will be available for selection.
- Select Financial > Register Reports > View Register.
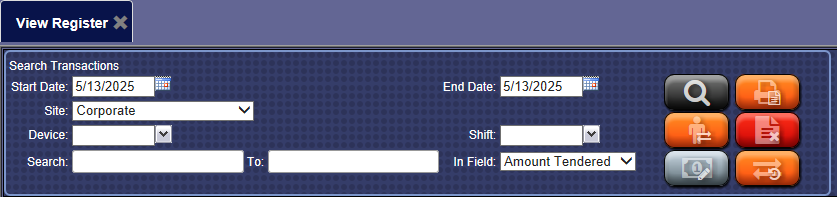
- In the Start Date and End Date boxes, select or type a date range.
- In the Site box, select a site.
- In the Device box, select a single device, multiple devices, or All devices.
- In the Shift box, select a shift, multiple shifts, or All shifts.
- In the Search box, type a search item, only if attempting to further filter your search. You must also choose an In Field selection when using the Search box.
- In the In Field list, select one of the following search criteria:
- Amount Tendered
- CTN
- Payment
- RFID
- Sub Total
- Tax
- Ticket ID
- Time
- Total Sale
- Transaction ID
- Transaction Status
NOTE: Use of the In Field selections are only required when using the Search box.
- Click the View Transactions button.

The Transaction List appears, filtered by the desired selections.
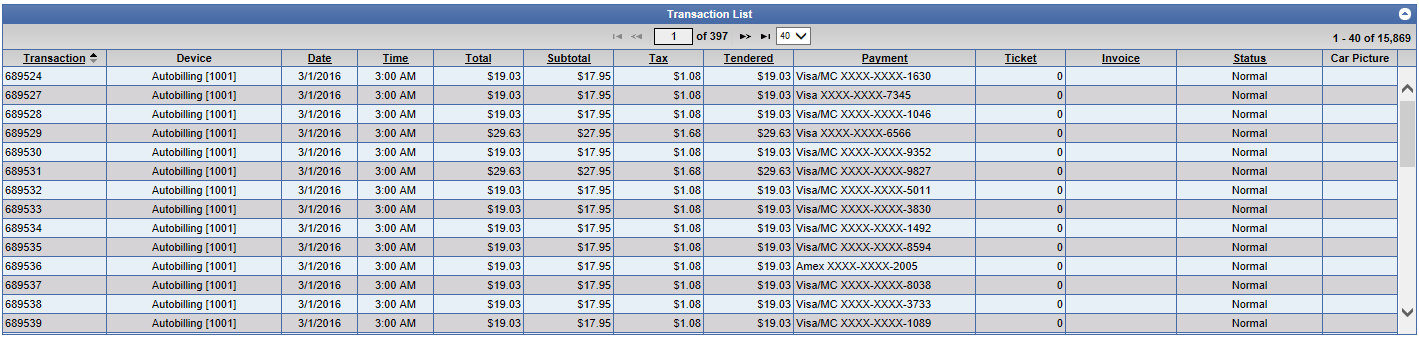
Sorting the Columns in the Report
Each of the columns in this report may be sorted (indicated by the column name being underlined). To sort a column, click on the column title. The column will be sorted either numerically or alphabetically, both lowest to highest. Clicking the column title again will reverse the sort (highest to lowest).
Viewing Additional Transaction Details at a Glance
After the filter selections have been made and the transactions have been displayed, simply click a transaction and automatically the additional data will display:
- Line Items purchased in the transaction – Includes PLU Numbers, Service Names, Service Price.
- Applied Payments – Includes payment types and amount per payment type.
- CTN Number – Number used to identify a specific transaction, needed for Voids or Refunds
- Cashier – The associated cashier at the time the transaction was completed. Unattended units will display Default Employee.
- Manager – Displayed if available.
- License – Vehicle license plate associated with the transaction, if available.
- Customer – Name of customer associated with the transaction, if available.
- Account – Fleet account associated with the transaction, if available.
NOTE: Use of the In Field selection is only required and applicable when using the Search box to perform a search.