- Select Configuration > Commissions > Positions.
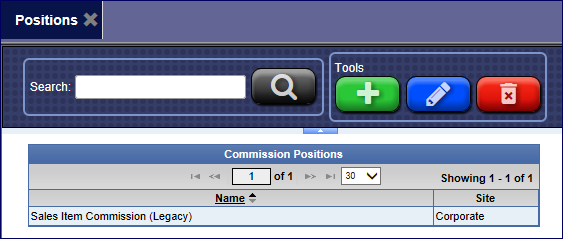
- Click the Add button.

- In the Name box, type a name for the Commission Position. (This can be a different or the same name that you used for Schedules and Eligibility Rules.)
Commission Schedule
Next, set up a Commission Schedule and Eligibility Rule for Commission Position.
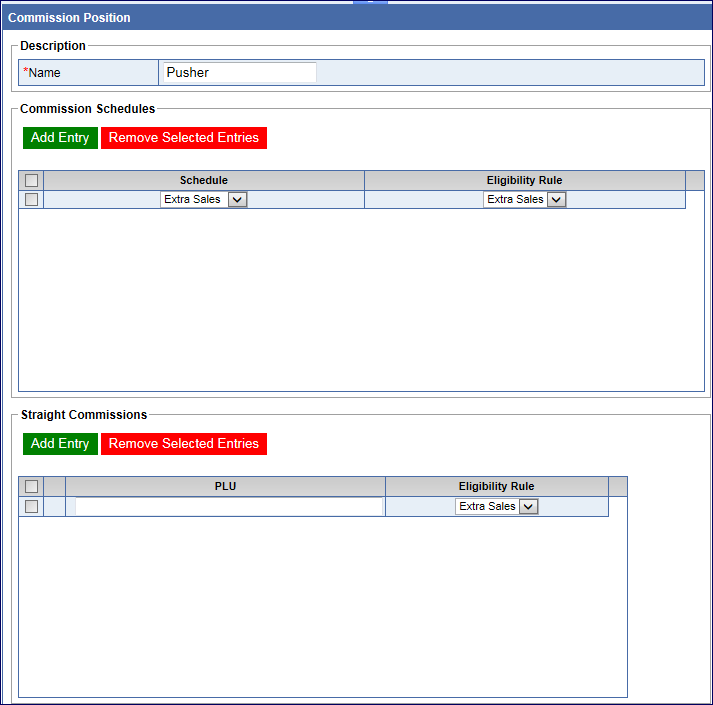
- Click the Add Entry button.

A new Commission Schedule line appears.
- In the Schedule list, select a Schedule that has been set up.
See Add a Sales Commission Schedule
- In the Eligibility Rule list, select an Eligibility Rule previously set up.
See Eligibility Rules.
- Click the Save button.

NOTE: If you need to enter a straight Commission item, see Add Straight Commission Position.
See Manage Users.