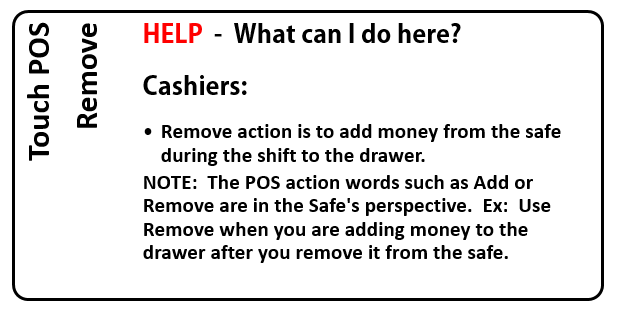
Using an on-site safe is the WashConnect default setting. All journal actions are made from the perspective of the safe. Having said this, the Remove safe action is referring to removing money from the on-site Safe, not removing money from the POS.
Important: Carefully count the money as you remove it from the safe as this entry is automatically verified and cannot be edited.
To remove cash from the on-site Safe and add it to the POS drawer, follow these steps:
- Open WashConnect.
- Shift must be open. If necessary, on the Touch POS menu, select the Open Shift button.

NOTES:
- If Open Shift is not available, you must Close Shift from yesterday before opening a shift for the new day.
- ICS technical support can enable or disable the system to require a Greeter to clock in. If enabled, the last greeter that clocked in is the default greeter.
- On the Touch POS menu, click the Add / Remove button.
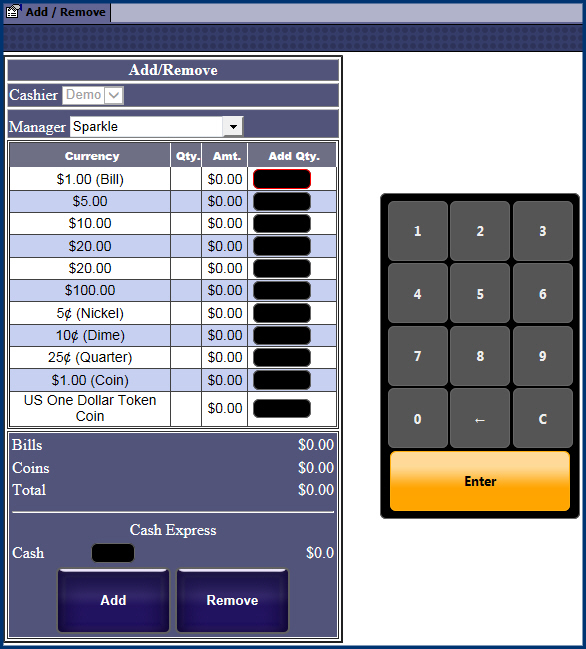
- Select a Manager.
- In the Cash Express box, type in the cash amount to remove from the on-site safe and add to the POS drawer.
- Select the Add button.
A receipt prints showing the results of the Remove operation. While you selected the Add button from the Touch POS screen, the journal transaction created a Remove action because the money is removed from the on-site Safe, and added to the Touch POS.
- Close the Add/Remove tab.
- Next, would be Verify a Remove from the on-site safe, and then Add to the POS.
This procedure automatically generates a journal entry for the amount of money removed, and then can be tracked in the system.