You can edit the Fleet Customer's Vehicle at any time.
-
Open WashConnect, in Region(s) select Corporate, region, or the local site, and then click the Log In button.
NOTE: When logged in at the Corporate location, the entire Corporate structure will be available. When logged in at a site level, only that site will be available for selection.
-
Select Fleet > Accounts.
The Accounts tab appears.
-
Click to select the Fleet Account.
The fleet is highlighted in the Fleet Account list, and the Customer section appears below the Fleet Account list.
- From the Customer list, click the Full Name column header to organize it in ascending order or click again for descending order to locate Fleet Customer.
- Click to select Fleet Customer’s name.
The Fleet Customer is highlighted from the Customer list.
- Click the Edit Customer button.

- Click the Edit Vehicle button.

The vehicle dialog appears:
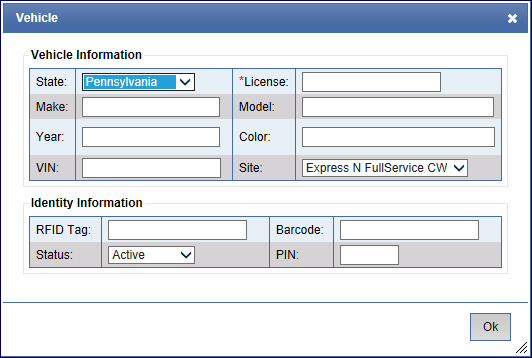
- Make any necessary changes.
- Click OK
- Click the Save button.

The message, "Customer saved successfully," appears.
- Click OK.
Click the Close button to quit the Accounts tab.