To view the Re-Wash Report, follow these steps:
- On the Financial menu, select Register Reports, and then Re-wash.
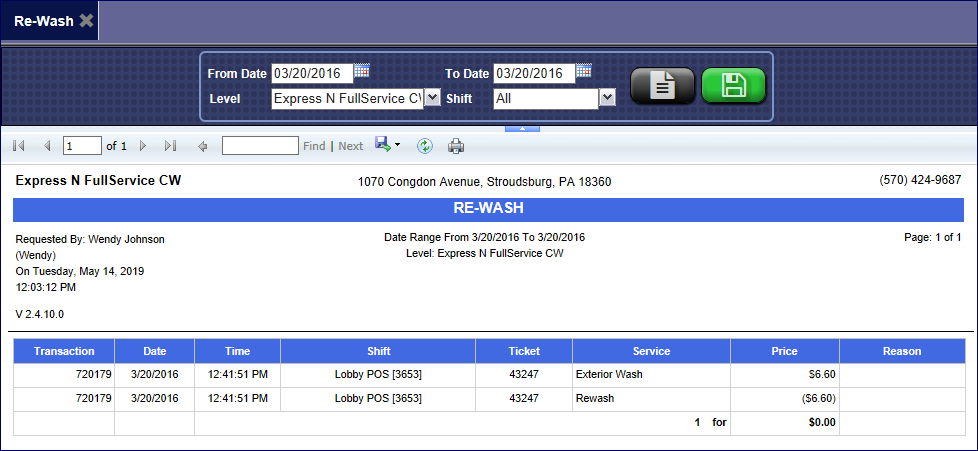
The Re-Wash tab appears.
- In the From Date and To Date boxes, select a date range for the report.
- In the Level box, select a site or level from your Corporate structure.
- In the Shift box, select a shift(s), specific shifts, or All shifts.
- Click the View Report button.

NOTE: At the bottom of the report, there is a total for the number of Re-Washes given out during the report date range.
- From the Re-Wash Report toolbar, you can Search, Print or Export the report.
Report Toolbar
- You can save your report preferences for the next time you want to generate this report, click the Save Preference button.

NOTE: Tracking the Customer’s name and phone number, as well as the reason for the Rewashes is optional based on a configuration to set if it is required information at the time the free Re-Wash is issued. However, tracking the actual washes is not optional.