 After saving the required fields to create a Sales Item, you can go back in to the Sales Item and add the optional fields.
- Select Configuration > Goods and Services > Sales Items.
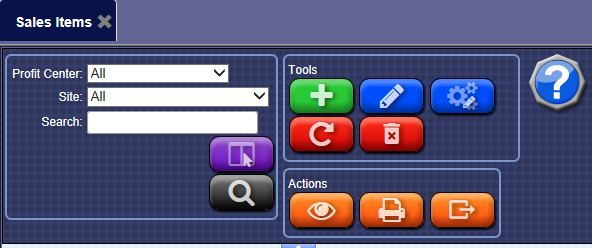
- Click to select the Sales Item, and then click the Edit button.

- In the Taxable box, select one of the following from the list:
- Always
- Never
- Conditional
- Force
- In the Item Tax box, click the Select Item Tax button to assign a specific tax to item (ex: alcohol, cigarettes, etc.).
NOTES:
- If Never was selected in the Taxable box, the Select Item Tax button is unavailable.
- Price Including Tax is a setting available to show on ICS payment terminals by calling Technical Support.
The Item Tax dialog box appears.
- In the Site box, click to select the site from the list.
- Click to select the Item Tax, and then click OK.
- In the Extra Service Amount box, type in an amount if you are setting up an Extra Service.
- In the Track Service box, select this box to track customer purchase history for POS and Presell greeters to view past sales.
- In the Description 1 box, type a correct description for the sales item. This is the description that will appear on button for customers if no custom buttons are present.
- In the Description 2 box, type a second line of the sales item description. This is the description that will appear on button for customer if no custom buttons are present.
- In the Barcode box, type a barcode for the sales item.
NOTE: The barcode scanner works for presell tickets as well as coupons. Barcode scanners are optional at time of purchase and additional fees may apply. Three Barcode types that can be read at the Auto Sentry and the Touch POS. The barcode readers incorporate a pound (#) sign prefix and are designed to work Code 93, Code 128, and Code UCC/EAN 128.
- In the Account ID box, select an account:
NOTE:
Selecting an Account ID is important.
- From the Accounts list, select an account number from the list of sites designated by your bookkeeper or accountant.
- To change the account to be the same for all sites in the list, you can click to select the Apply Account to all Sites box.
- In the Searchable box, check if you want to be able to search for this item.
If the sales item type is an extra service, then in the Extra Services Amount, type an amount.
Some washes track portions of a base price as extra service: Base $5, Extra Service Amount $2
- Select the Department box, if this is an open PLU.
- In the ePOS Description box, type the description.
NOTE: The ePOS is optional and additional fees apply. The ePOS description is only displayed when viewing product details from WashConnect ePOS.
- In the List as a featured item on the ePOS box, click to select if you would like this item to be listed on your ePOS Storefront page.
- From the Token to Dispense section, type in the quantity for the following if necessary: US One Dollar Token Coin box, Some Token box, Vacuum, etc.
- If setting up a Cascade Price promotion, fill in this section. If not using cascade price, remove all cascade sequences.
- If setting up a Variable Price breaks on extra services, fill in this section. If not using Variable Price, remove all variable price PLU items from this section.
- In the Commission section, set up Greeter Commission Amount or Percentage.
- In the Secondary Language Description section, set up secondary language descriptions to appear on buttons for unattended terminal:
- In the Name box, type the correct sales item name in a secondary language.
- In the Description 1 box, type the correct sales item descriptions in one secondary language.
- In the Description 2 box, type the correct sales item descriptions in one secondary language.
- From the Media Information section, you can add custom videos to be played and custom artwork (bitmaps) for the various buttons that are displayed. In both cases, there are separate videos for English or a second language, just as there are bitmaps for English or a second language. To make these videos and bitmaps accessible for use, the file must be placed within the proper folder locations. Click here for more custom buttons, videos, and file locations. The Icon file is used to add Hand Finished services icons to the Hand Finished Service Sales Item buttons for a full-service or flex-serve POS. See Standard Hand Services Management Graphics.
- In the Bonus Points box, type the Points Awarded and then Points to Redeem for the bonus point system. The WashConnect customer tracking system automatically tallies all the Promotions for each customer.
NOTE: Before a customer can redeem bonus points, a PLU is created with the amount of bonus points awarded for purchase and the amount of bonus points needed to redeem the sales item for free.
- In the Assign Controller Services box, available at site level. (Available at corporate if all services are created at corporate.)
- From the Controller Services dialog box, select controller services that controls the tunnel equipment for a sales item.
NOTE: Controller services must be set up in WashConnect so they can be assigned to services.
- Click the Save button.
The sales item is added to the list.
- You can sort, edit, or delete items.
NOTE: PLUs that are sold or redeemed appear on the Shift Detail Report. If a PLU name or price have been edited, the PLU will appear on the Shift Detail Report with two different line entries for the same PLU number. This is a safety feature to alert you that some user with privileges has made a change to the PLU name or price.