Search for all transactions paid by check, including checks received on account. You can search for them by a specified date range, site, or shift.
To view the Checks Report, follow these steps:
- On the Financial menu, click Register Reports, and then click Checks.
The Checks tab appears.
- In the From Date and To Date boxes, select the desired date range for the report.
- In the Level box, select a site or level from your Corporate structure.
- In the Shift box, select shifts or All.
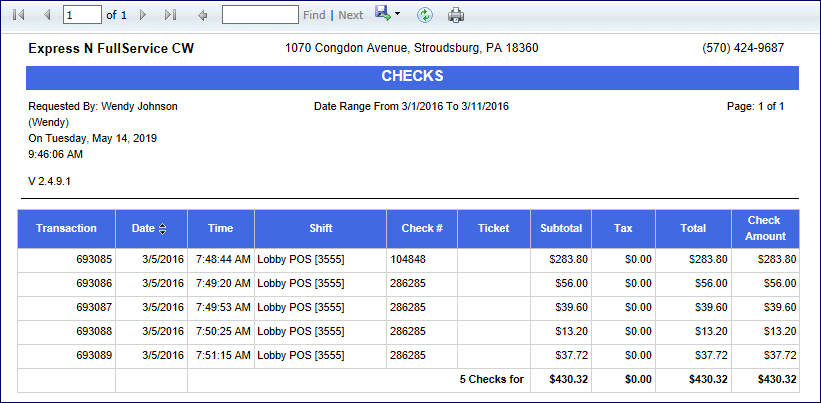
- Click the View Report button.

The Checks Report appears including Check #, Price, Tax, Total, Billed, and Ticket number (if applicable).
- From the Checks report toolbar, you can Print or Export the report.
Print a Report
Export a Report
Report Toolbar