NOTE: In WashConnect, you can only view stock items from Corporate logon. From the local logon, you can add and modify stock items.
- At the WashConnect logon screen, select the local site, not Corporate.
From the local site, you can add a Stock Item.
- Select Inventory > Stock Items > Item.
- Click the Add button.

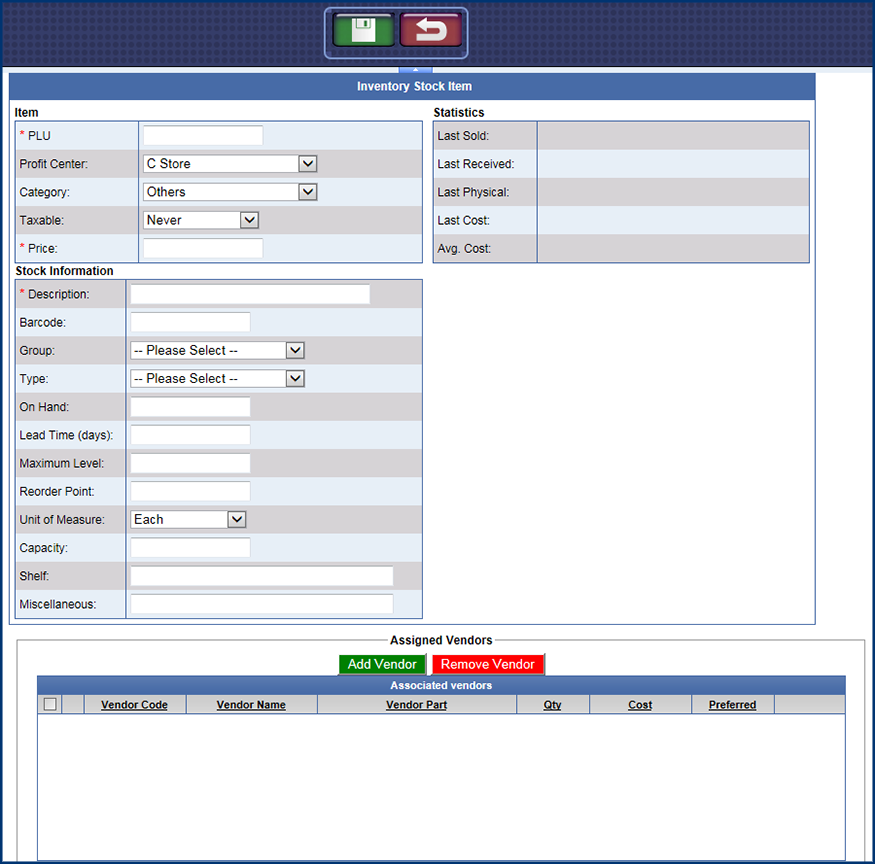
The Item tab appears.
NOTE: The following fields marked with an asterisk * are required to save the item.

- In the *PLU box, type a PLU Sales Item number.
- In the *Description box, type a description for the PLU.
NOTE: You can create duplicate PLUs for the purposes of inventorying multiple varieties of the same items such as various scents of air fresheners.
- In the *Price box, type in a price for the Inventory Sales Item.
- In the *Group box, select a Group from the list.
- In the *Type box, select a Type from the list.
- In the remaining fields, type any additional information available.
- Fill out these fields as needed for your business operations:
- Barcode: Scan the bardcode of the item to enter its number here
- On Hand: The quantity of the inventory that is currently on-site.
- Lead Time: The amount of days it typically takes to receive the order after an order is placed.
- Maximum Level: This is the maximum amount you typically order and is set to prevent accidental entries.
- Reorder Point: The lowest limit you want the quantity to reach before prompting to reorder.
- Unit of Measure: Choose between Gallon, Liter, Ounce, Case or Each, depending on the product.
- From the Assigned Vendors section, select Add Vendor button.


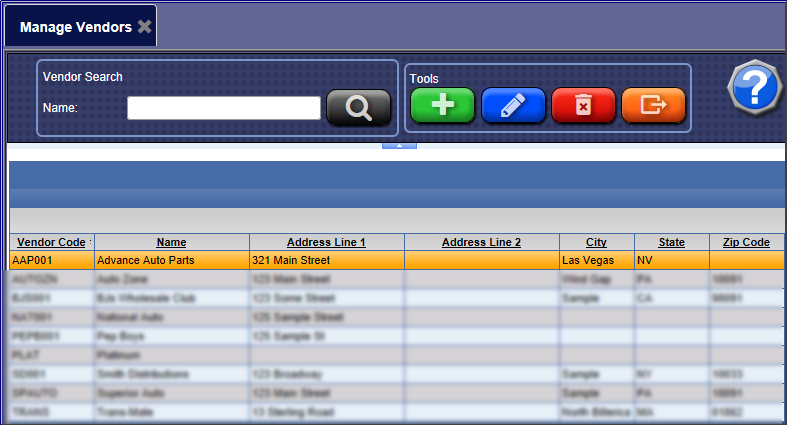
- Search and select a Vendor, then click OK.

- In the Vendor Part box, type the part number.
- In the Qty box, type the quantity typically ordered.
- In the Cost box, type the cost your business pays.
- In the Preferred checkbox, click to select if this is the preferred Vendor for this item.
- Any additional information added will benefit the Purchase Order and Inventory Reports.
- Click the Save button.
NOTE: The Vendor list is populated at Corporate.