 After the customer purchases a wash at the Touch POS, you can change the base wash, add or remove extra services, and add or remove retract services as long as the vehicle has not reached the point of service in the tunnel.
- Log on to WashConnect from the car wash site level.
- On the Touch POS menu, open the sales screen (Open Shift), and then select a Greeter.
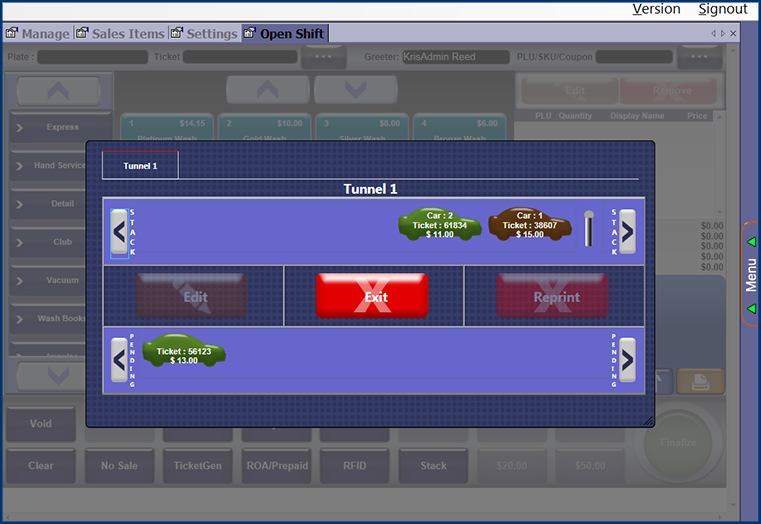
- On the Touch POS sales screen, select the Stack button.


- In the Stack queue, select the vehicle icon that needs to be modified.
- Click the Edit button.

The on-screen receipt displays purchased services, credit for those services, and the total sale as zero dollars.
- On the on-screen receipt, you can view the changes as you make them:
- Base wash – Select a new base wash. If you receive the message "Are you sure you want to remove the existing base and add the new base?", select Yes. The existing base will be removed and the new base wash will be added to the vehicle, and these changes will be reflected on the virtual receipt.
- Remove Extra Service – On the virtual receipt, click to select the Extra Service to remove, and then select the Remove button.

- Add Extra Service – Select an Extra Service from the menu on the left side of the screen. The service will be added to the vehicle.
- Add Retract Service – From the Retract Service menu on the left side of the screen, select the necessary retract button to add the retract to the vehicle.
- Remove Retract Service – On the virtual receipt, select a retract service, and then select the Remove button.

- When all edits to the vehicle are complete, select the Finalize button to save the edits to the vehicle.

- If an amount is owed for the new services, the payment window appears and can be cashed out like a normal sale. If you owe the customer, the drawer will open and you can refund the customer the amount due.
NOTE: Verify the stack order is correct. To reorder the cars on stack, go to Stack Management from the StackNControl menu.